
Guides
IRON NEST Beginner Guide
Learn the complete firing loop in the order a new Operator should practice it.
Evidence map reviewed: 2026-08-13
The station layout and operating sequence are supported by the official FAQ, current community field manual and v1.0 gameplay. Exact mission coordinates are intentionally excluded.
Quick answer
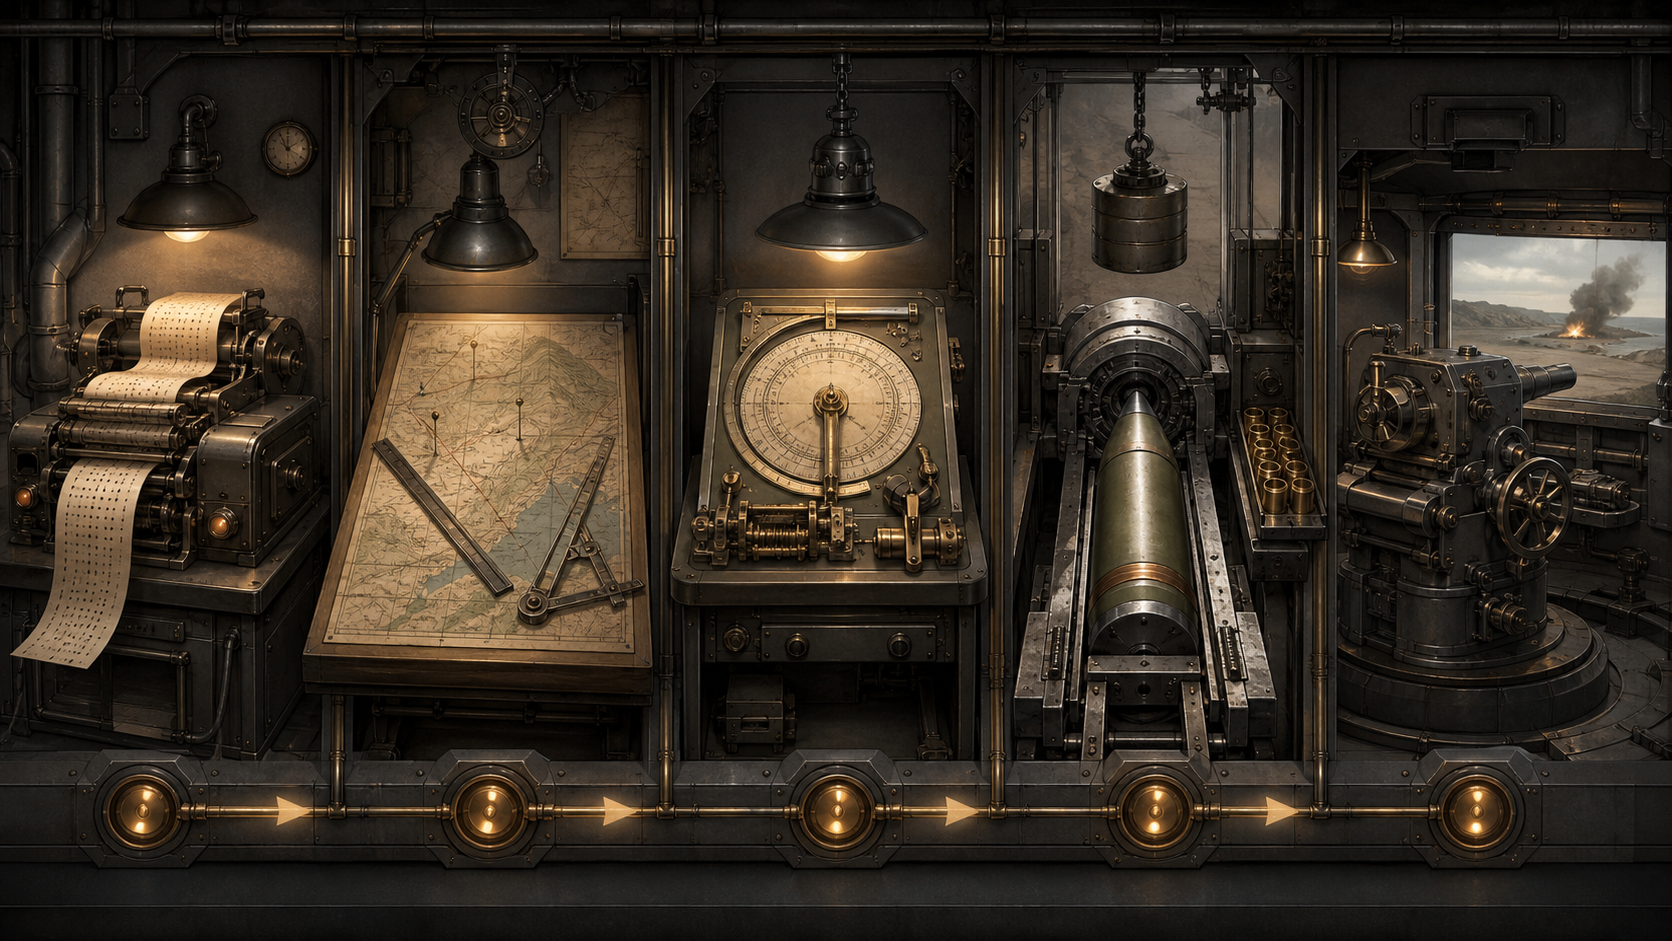
IRON NEST becomes much easier when you stop treating each room as a separate puzzle. Every accurate shot follows one chain: receive the order → preserve the intelligence → plot known positions → locate the target → measure from the IRON NEST → calculate → load → lay the gun → fire → assess.
Your first goal is not speed. It is completing that chain once without changing or guessing an input halfway through.
Learn the stations in working order
| Station | What it gives you | What to carry forward |
|---|---|---|
| High Command teleprinter | Mission orders, priorities and known positions | Target identity and any confirmed coordinates |
| Intelligence teleprinter | Spotter bearings, ranges and reports | The observation plus the observer it belongs to |
| Tactical map | Position plotting, line intersections, bearing and range | One verified firing line from the IRON NEST to the target |
| Ballistic calculator | A firing card based on your selected inputs | Bearing, shell, charge count and required elevation |
| Loading and gun controls | The physical execution of the solution | Correct gun, load, bearing, elevation and armed state |
The official FAQ describes IRON NEST as deliberately manual: a mechanism does nothing until the Operator works it. That means a missed shot is often caused by an earlier information error, not by the final firing control.
Your first complete firing solution
1. Read the order before touching the gun
Identify the requested target and note whether the position is confirmed, derived from observations, or still only approximate. Keep a report attached to the correct spotter; a bearing without its origin point cannot define a useful line.
2. Plot every known position first
Place the IRON NEST and friendly observation points before drawing target lines. When you later measure a fire mission, start from the reference spike at the bottom of the IRON NEST marker. Measuring from the centre of the large model introduces a bad origin and can spoil the entire solution.
3. Locate an unknown target
If two independent observations refer to the same target, draw each from its own known origin. Their intersection is your working position. Spotter reports can contain error, so treat the intersection as a solution supported by the evidence—not a magical exact coordinate. Use reconnaissance or other mission feedback when the game gives you a way to confirm it.
For the full plotting method, continue with the triangulation guide.
4. Create the actual firing line
Once the target is marked, use the tool that copies bearing and range to the clipboard and draw from the IRON NEST reference spike to the target. A line between two spotters can locate the target, but it is not the line the turret must fire along.
5. Build and verify the firing card
At the ballistic calculator, transfer the measured range and choose the ammunition and charge plan for the target. Use the calculator output rather than an unverified web formula. Before leaving, confirm that the card belongs to the same target and gun plan you are about to load.
6. Load only after the plan is stable
Shells and powder charges cannot be unloaded. This is the most expensive beginner mistake because a wrong early choice survives all the way to the breech. Check the target effect, shell and charge count before committing the loading system. If the load is already wrong, use the documented recovery options in Can you unload the gun?.
7. Traverse and elevate with coarse-then-fine control
Use the faster control to approach the required bearing or elevation, then use the precision wheel for the final setting. Finish the loading and locking sequence before expecting every elevation control to respond. Confirm which gun the firing card and loaded ammunition belong to when the two guns are prepared differently.
8. Arm, fire and assess
Do not pull the firing control as soon as the turret looks roughly aligned. Run the pre-fire checklist, arm the intended gun and fire. Then read the mission report or reconnaissance result before changing the next solution. A hit validates the process; a miss tells you which input needs to be checked.
A practical first 30 minutes
- Spend five minutes walking between the teleprinters, map, calculator, requisition station and guns until the route is familiar.
- Complete one solution slowly and use the in-game checklist before firing.
- Repeat the same workflow while trying to reduce unnecessary walking—not calculation quality.
- Deliberately inspect where the IRON NEST marker reference spike sits and which map tool copies values.
- Only after a clean shot, learn bearing, elevation and shell choice as separate systems.
Common beginner mistakes
| Symptom | Likely cause | What to check first |
|---|---|---|
| Correct-looking bearing, huge miss | Firing line started from the wrong part of the IRON NEST marker | Re-measure from the bottom reference spike |
| Calculator and turret disagree | Values came from different targets or an old clipboard card | Rebuild one clean card and remove ambiguity |
| Gun will not reach the expected state | Loading or breech sequence is incomplete | Finish and lock the loading cycle |
| Correct target, wrong effect | Ammunition was chosen before target type was confirmed | Review the current shell guide before loading |
| Counter-battery pressure causes chaos | Too much work is being done after the first shot | Pre-plot and prepare while the battlefield is quiet |
Operator rule: measure from a known origin, preserve the source of every observation, and do not load until the firing card is internally consistent.
What to learn next
Read the firing checklist until you can perform it from memory. Then go deeper only where you are losing time: triangulation for target location, bearing and elevation for the solution, shells for target effect, or counter-battery for survival under pressure.